
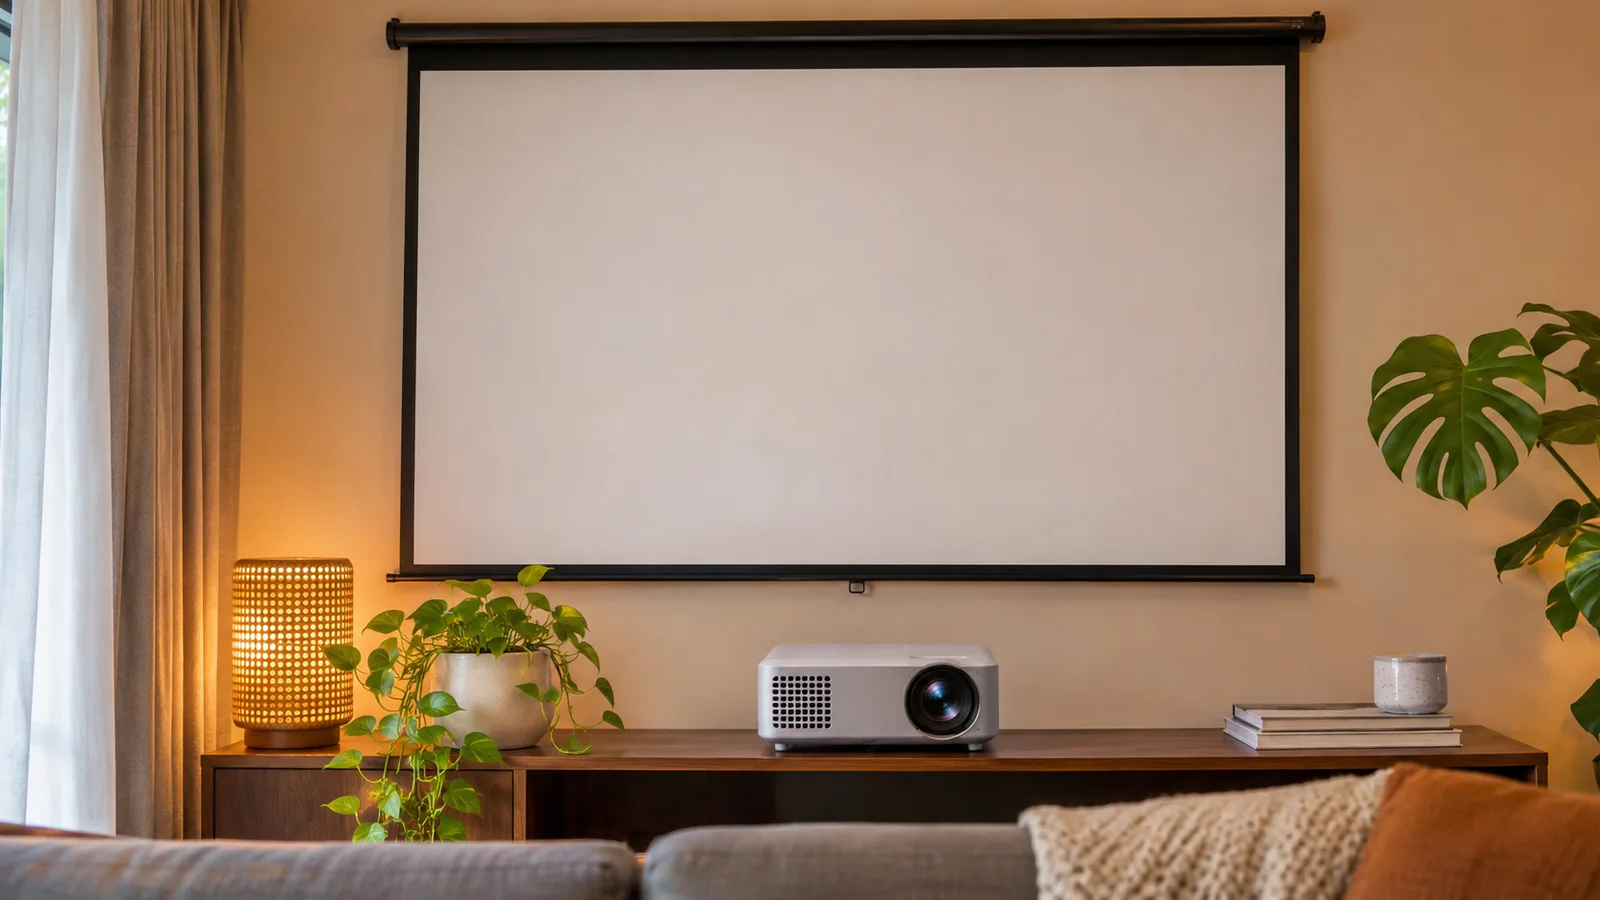
Three home projectors and the room each fits
| Model | Throw ratio | 80-inch image | 100-inch image | Main trade-off |
|---|---|---|---|---|
| BenQ GV50 | 1.2, fixed | 2.13 m | 2.66 m | Compact laser model rated at 500 ANSI lumens and native 1080p. Move the projector to set image size. |
| Epson EH-TW6250 | 1.32–2.15, optical zoom | 2.34–3.81 m | 2.92–4.76 m | Lamp model with vertical lens shift. Epson lists 2,800 lm for white and colour output, and native Full HD panels with its 4K PRO-UHD system. |
| BenQ TH575 | 1.49–1.64, optical zoom | 2.64–2.90 m | 3.30–3.63 m | Lamp model rated at 3,800 ANSI lumens and native 1080p. Check the narrower installation range and your room light. |
Work backwards from the shelf or ceiling mount
At 16:9, 80 inches is about 1.77 m wide and 100 inches is about 2.21 m wide. Multiply screen width by throw ratio to get the lens-to-screen distance. If your lens can sit only 2.5 m from the wall, the fixed-throw GV50 gives about a 94-inch picture. At that same position, the Epson can produce roughly 53–86 inches across its zoom range. Keep some adjustment room and confirm against the brand’s installation diagram before buying a mount.
Measure from the lens and account for the enclosure, plugs, cable bend and air clearance behind it. Put tape on the wall for the screen’s outline and check the view from every seat. If the lens cannot sit square to the screen, check optical shift and the actual range when zoomed. Digital keystone reshapes the image through processing. Place the projector squarely first, particularly if response time matters for games.
Size the picture for daytime and night
Look at the wall at the same hour you watch. Close blinds and test both lamps in the room, then decide whether you can comfortably darken it. At the same aspect ratio, a 100-inch picture covers about 56% more area than an 80-inch picture, so the same light is spread more thinly. A smaller screen can give a portable projector a more usable picture.
Match image presets and measurement methods rather than comparing every brightness number as if it were identical. For the GV50, BenQ notes that available brightness changes with power mode. Ask to see the model at the picture size and battery or mains mode you intend to use.
Check HDMI, streaming and sound before fitting a mount
Count the ports you need for a console, streamer and soundbar. BenQ lists one HDMI input with ARC support for the GV50, plus USB-C video for suitable source devices. If a soundbar takes the ARC connection, check whether your other device can connect a different way. Also confirm whether a built-in app serves the account, region and picture mode you intend to use. Test both sound and controls from where you will sit before running a cable through a wall.
Plan lamp and service costs over your viewing hours
At two hours per day, you watch about 730 hours a year. Epson lists the EH-TW6250’s lamp at 4,500 hours in normal mode or 7,500 hours in eco. These are manufacturer ratings and actual service life varies. Use the local ELPLP97 lamp listing to identify the part and confirm the price and stock before budgeting. BenQ lists the GV50’s laser at 20,000 hours in normal mode.
Epson Singapore’s terms list 24 months of carry-in service for the EH-TW6250 main unit and 12 months or 1,000 hours for its lamp. Check local supply and invoice eligibility. Ask separately what a mount, a screen, an audio setup and a long HDMI run add to the total.
Mark the image on the wall before drilling or buying a screen
Use painter’s tape to outline the diagonal or use a cardboard mock-up for the height and width. A 100-inch image in 16:9 is about 2.21 m wide and 1.25 m high. Check that the nearest seat, cupboard and outlet let you use that area. Mark the lens position in front of the wall and measure to it, since throw distance starts at the lens. A listed body depth and HDMI cable can make the actual shelf or mount extend beyond that position.
For the BenQ GV50’s fixed throw ratio, moving the unit closer to the screen changes image size. For the zoom models, choose a distance that leaves some adjustment within the listed range. Use each manufacturer’s setup calculator or manual for mounting and offset details. A digital correction can change how the image fits. Place the projector square to the surface first where possible, then assess what adjustment is still needed for your installation.
Compare the hardest viewing condition the room has
Set one viewing test in the afternoon and one in your usual evening conditions. Think about what you can darken and where light reaches the screen. A wide image spreads the light over a larger area. If daytime viewing is difficult, try a smaller image or better light control before deciding what brightness you need. Compare the projector and surface together, because wall colour and texture affect how the result looks.
For a bedroom setup, check whether the fan or speaker is close to the bed and whether there is a clear path for ventilation. For a shared living room, measure where people walk between the lens and screen and whether an open door casts a shadow. Decide where to send audio and which cable length you need before you finalise the position.
Test the device you intend to connect
Start with your actual game console, streaming player or laptop. Check the supported input resolution and the display mode you need. If you plan to play games, ask for model-specific latency figures in the intended mode and at your chosen settings. For a streaming stick, verify available ports and how it is powered. Play a video with spoken dialogue to check whether the built-in audio is enough or whether you need a separate system and cable route.
Before committing to a ceiling mount, ask where the model takes in and vents air and how the filter or light source can be serviced. Add the bracket, cable length, screen and installation to the quote. For a shelf setup, check the full unit and cable bend against the usable depth and leave the ventilation clearance listed in the manual.
Sources
- BenQ Singapore GV50 specificationsThrow ratio, resolution, brightness, light source and inputs.
- BenQ Singapore TH575 specificationsThrow ratio, optical zoom, resolution, light output and lamp type.
- BenQ GV50 brightness in battery modePower source and available brightness.
- Epson Singapore EH-TW6250 specificationsThrow range, optical shift, native panel resolution and rated lamp life.
- Epson Singapore ELPLP97 spare lampLocal lamp part listing.
- Epson Singapore warranty termsSeparate main-unit and lamp terms on purchases supplied locally.