
Singapore portable aircon models compared
| Model | Cooling capacity | Width × depth × height | What the setup needs |
|---|---|---|---|
| Midea MPPT-12CRFN7-A | 12,000 BTU/h | 496 × 425 × 825 mm, 33 kg | Allow space for the exhaust kit, filter access and bottom drain. Ask for the actual kit and its window-panel adjustment range. |
| EuropAce EPAC13T3E | 13,000 BTU/h | 419 × 358 × 688 mm, 26.4 kg | Manufacturer lists two hoses, a window kit and a 1.5 m exhaust hose. The product page gives 2,050 W rated power. |
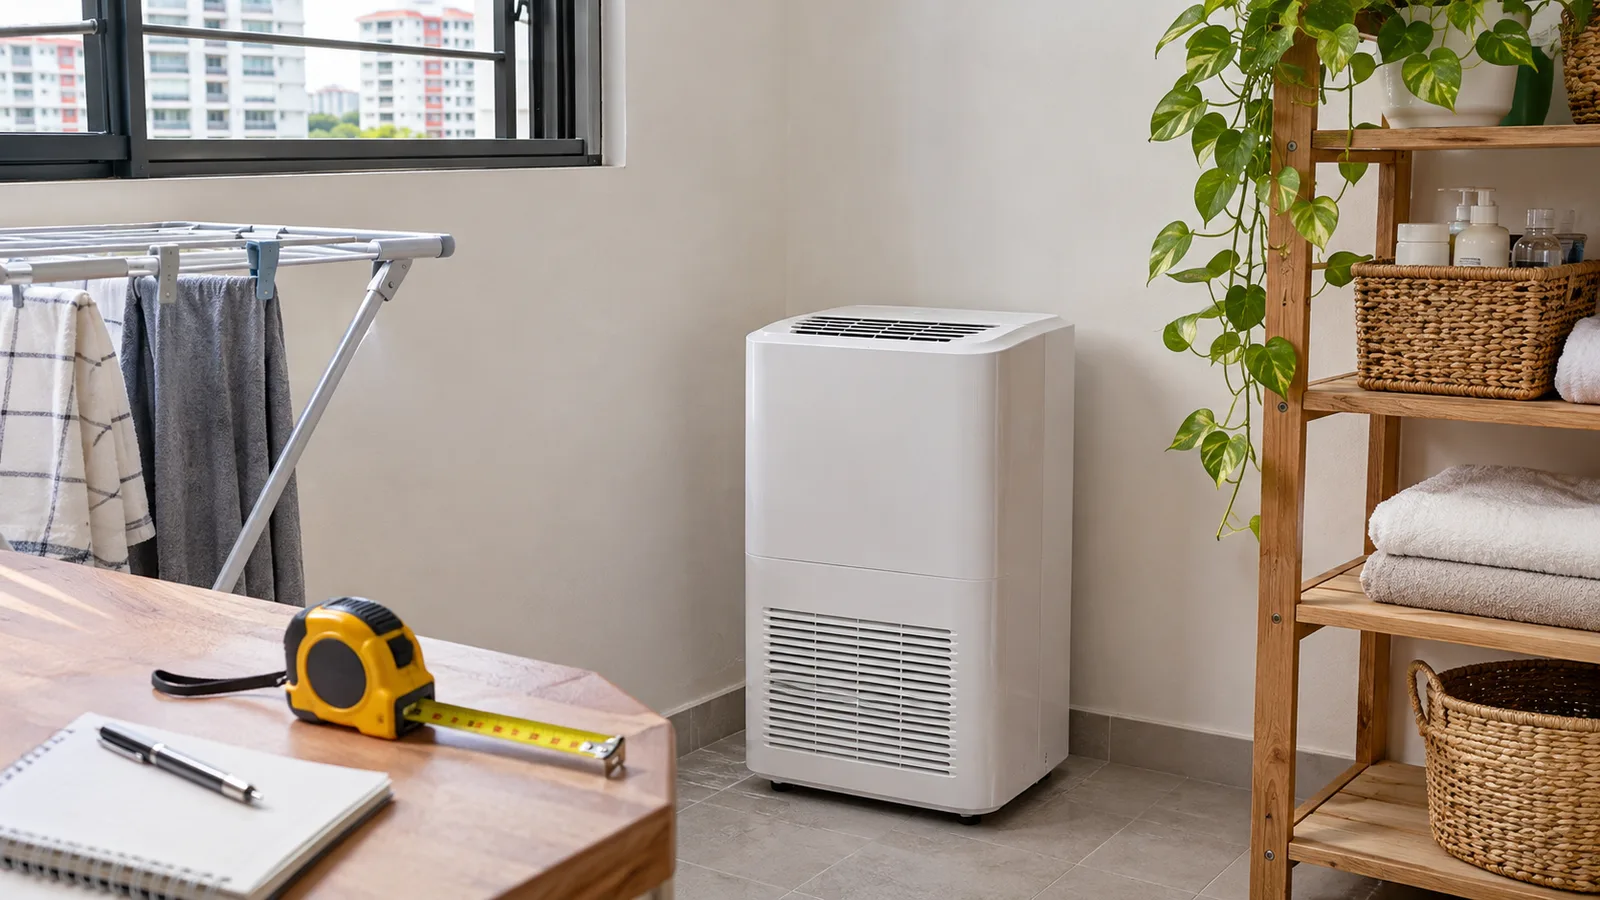
The EuropAce cabinet is narrower, shallower and shorter. Its second duct still needs a suitable panel. Put masking tape where each unit and its full hose run would sit before comparing how much walking space you gain.
Measure your opening before placing an order
- Sliding window. Measure between the surfaces the panel has to seal against when the sash is open. With a horizontally sliding sash, the panel usually sits vertically. Check track depth, the grille and the catch.
- Casement or awning window. Photograph the hinges, handle, grille and outward opening. Ask for a written quote for a compatible removable insert or other manufacturer-approved seal. Confirm whether it can be removed after use and what it does to the window’s ability to close and lock.
- Check the hose route and outlet. Compare the required distance against the hose included, and leave the manufacturer’s clearance around both the vents and the plug. Ask whether the quote includes the panel, adapters, seals and fitting. A renter should agree any drilling or permanent changes with the owner first.
Understand one hose, two hoses and room heat
In a typical single-hose portable unit, indoor air carries heat out through the exhaust. Replacement air can enter through door gaps. A dual-hose design has a separate intake path for the condenser, so the installation can reduce that draw on indoor air. The benefit depends on the unit and how well the openings seal. Compare published energy use for the exact models.
A room with afternoon sun, a high ceiling, several computers or open connections to other rooms can be harder to cool. Close off spaces you do not intend to cool and ask the seller to size the unit for the room’s actual conditions. Units marketed as evaporative air coolers do a different job. For each aircon model, look for a compressor and confirm exhaust requirements.
Plan where condensation will go
Check the manual for both cooling and dry modes. The Midea Singapore portable-unit manual illustrates how one design handles a bottom-tray full warning and continuous drainage. Route a gravity hose to a lower drain without a kink or uphill loop. If you will empty a tray by hand, leave enough floor space to reach the drain port and move the unit as the manual directs. Ask the seller which ports and hose fittings apply to the unit they deliver.
Read the Energy Label and estimate a night’s use
NEA’s Singapore Energy Label guide lists portable air conditioners on a one-to-two-tick scale. Look up the full model code in NEA’s linked register and ask to see the label before buying. The label gives a standardised comparison. Your bill depends on your tariff and how you use the unit.
If the EuropAce listed 2.05 kW draw were sustained for four hours, it would use 8.2 kWh. At an illustrative S$0.30 per kWh that is about S$2.46. This is a rated-draw calculation, not a typical overnight measurement. Compressor operation, fan mode and room heat change electricity use. Compare label figures across models and use your own measured consumption or a realistic run schedule for budgeting.
Check service, parts and noise in the intended setup
EuropAce’s product listing distinguishes full residential coverage, compressor coverage and commercial coverage. Ask what parts, labour, travel and installation are included and for how long. Confirm availability of the full hose, window insert and replacement filters. A unit with its compressor in the room may sound different from a split system, so ask for a demo in cooling mode and compare sound figures only when measurement conditions match.
Lay out the machine, the exhaust and the furniture together
Start at the window or opening where the approved kit will vent. Mark the machine’s footprint at the closest place where it can stand flat and meet the manual’s clearances. Draw the hose in the position it will take while fitted to the adapter. Include the furniture and any door that must open beside it. Check how you can remove the window kit later if you need to close or secure that opening. A portable aircon that technically fits the room can still use most of its practical placement space to reach a suitable vent.
Take photos of the window frame from the inside and of the sill and nearby outlet. Note the way the window opens and what moves at its edges. Send the photos and size to the seller and ask whether its supplied kit fits your exact window type. A grille or an inward-opening panel can affect both how securely you can mount a kit and whether you can remove it for normal use. Use only the arrangements its manufacturer supports.
If you rent, ask the owner or agent what changes are allowed before committing to a panel or fitting. Mark where the installation could touch the surface or leave an opening. Discuss a reversible installation with the seller where appropriate. A written plan and the exact window dimensions help you keep the quote tied to the unit you will actually receive.
Make a quick list of room heat loads
Write down the room’s dimensions and ceiling height. Note strong afternoon sun, large glass facing outdoors, a computer that runs during use and doors that stay open to another room. Use this information with the seller’s sizing guidance for the unit and its test basis. Size labels alone do not show how quickly every room will cool. A small home office with afternoon sun and equipment can give the unit a different load from a bedroom of the same area with shaded windows.
Choose a room and a time you can compare after setup. Note its approximate temperature when you begin, where you measured it, what windows and doors were open and how long the machine ran. Check that the exhaust setup, filter and drainage follow the local manual. If you are dissatisfied, use those observations to explain the issue to the retailer. Ask what operating conditions it expects and where it wants the room temperature measured.
Plan the power, drain and everyday noise before relying on it overnight
Check the label and local manual for the rated input and supply. Give those details to the installer or retailer and confirm that the approved power setup works where you intend to use it. Follow the appliance instructions for its plug and provide clear access to the outlet. If there is any question about a circuit or outlet, use a qualified electrician. Use the Consumer Product Safety Office’s SAFETY Mark guidance when checking whether the supplied model is registered where required.
Before leaving it on for your usual hours, confirm the drainage arrangement in the manual. Check when the unit needs the tank emptied, whether it indicates a full tank and what its continuous drainage arrangement requires. Note the path you would take with a drain container and keep the machine where you can reach the filter for cleaning. If the sound comes from an expected compressor cycle, ask the seller to demonstrate that cycle at a similar distance to the one you will have from the bed or desk.
Compare a night’s use in kWh and in room space
For an illustration, a machine averaging 1.1 kW for six hours would use 6.6 kWh. At S$0.30 per kWh, that would cost about S$1.98 for the night. The rated input is a useful reference if you need an upper estimate under stated assumptions. A suitable measurement or mode-specific figure gives a better estimate of average consumption when the unit cycles. Use the tariff you pay and your expected number of nights. The NEA Energy Label guidance helps explain the local figures that appear on the selected models.
Add the delivered price, the approved window hardware, any permitted installation and a service line if the seller charges for collecting the unit. Then compare the period you expect to use it. For a temporary setup or one room, the decision can depend heavily on having a usable vent. Compare how much floor and window space you give up when it is in place and whether you can remove it when the season or tenancy changes.
Decide whether you can assemble and store the window kit between uses
Ask the seller to identify which adapter and panel pieces are included for the exact model and whether there are approved spare seals or adapters. If two rooms have different openings, test both before assuming you can move the unit between them. Write down the measurements that belong to each room and save the instructions for installing and removing the kit. If the unit will be stored for part of the year, check how the manufacturer says to drain and clean it before storage. Measure where you will put the hose and panel pieces when they are not installed so the next setup has all its parts.
Sources
- Midea Singapore MPPT-12CRFN7-AExact local model capacity, cabinet size and weight.
- Midea Singapore portable air conditioner manualExamples of window installation, drainage and a full-tray warning in Midea’s portable range.
- EuropAce Singapore EPAC13T3EDimensions, rated power, supplied hoses, window kit and warranty terms.
- NEA Singapore Energy Label and registered goodsPortable air conditioner tick scale and model lookup.